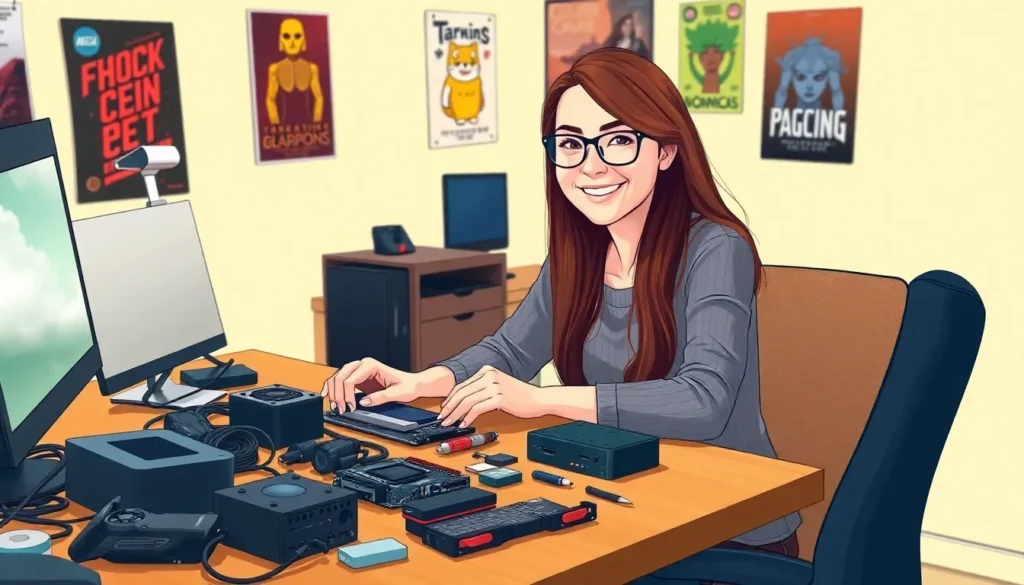
Setting up a new PC can feel like preparing for a first date—exciting yet slightly nerve-wracking. Will everything work smoothly, or will it be a series of awkward moments? Fear not! With the right guidance, transforming that shiny new machine into your personal tech haven can be a breeze.
Choosing the Right Components
Selecting the right components for a new PC setup ensures optimal performance tailored to specific needs. Focus on each essential part to create a balanced system.
Central Processing Unit (CPU)
The CPU acts as the brain of the PC. When choosing a CPU, consider the core count and clock speed. For gaming, a higher clock speed may lead to better performance. For tasks like video editing, opt for more cores to handle multitasking efficiently. Popular options include Intel’s Core series and AMD’s Ryzen series, both offering various performance levels depending on the budget.
Graphics Processing Unit (GPU)
A quality GPU enhances the visual experience, especially for gaming or graphic design. Evaluate factors such as memory capacity and processing power when selecting a GPU. Higher memory improves performance at higher resolutions. NVIDIA and AMD provide leading graphics cards, catering to different performance needs and budgets. Prioritizing the GPU becomes critical for demanding applications, making it a key component of the setup.
Motherboard and RAM
The motherboard connects all components and requires compatibility with both the CPU and RAM. Check for supported connection types and expansion slots. RAM impacts multitasking and system speed significantly. A minimum of 16 GB is advisable for most users, while gamers or professionals may benefit from 32 GB or more. Choose brands known for reliability and performance to ensure a robust setup.
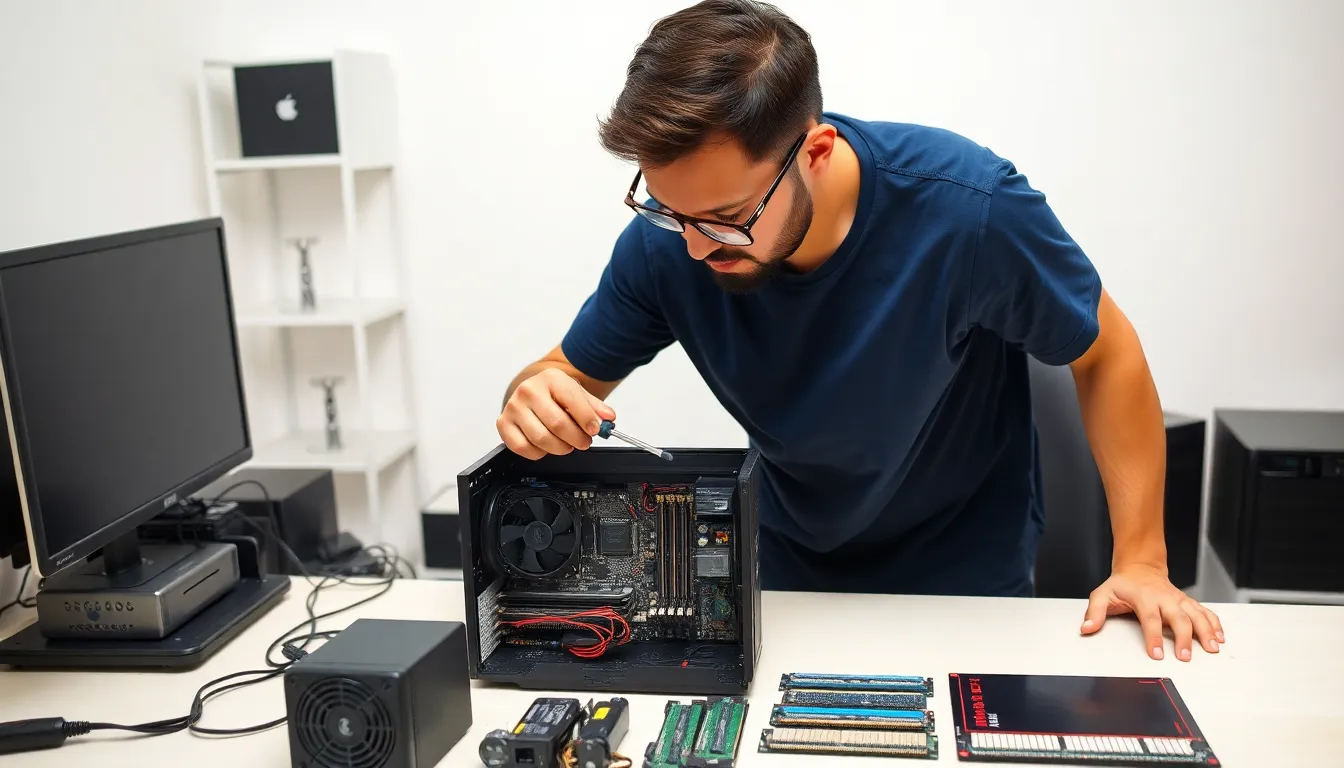
Assembling Your PC
Assembling a PC involves several steps and requires specific tools to ensure a smooth process.
Tools You’ll Need
Gather essential tools before starting. A Philips screwdriver simplifies assembly, while an anti-static wrist strap prevents static damage. Cable ties help with organization, ensuring a tidy build. Pliers are useful for manipulating components. Consider a flashlight for better visibility in tight spaces. Having a clean, spacious workspace is critical for efficiency.
Step-by-Step Assembly Guide
Start by preparing the case, ensuring it’s clean and accessible. Install the power supply at the bottom of the case, aligning it with the mounting points. Next, insert the CPU into the motherboard, aligning the notches. Apply thermal paste before securing the CPU cooler on top. Slot the RAM sticks into their designated slots, making sure they click into place. Mount the motherboard inside the case, securing it with screws. Lastly, connect the GPU, storage devices, and cables, ensuring everything fits properly. Test the system by powering it on to verify the connections.
Installing the Operating System
Installing the operating system marks a crucial step in setting up a new PC. This process transforms hardware into a functional machine.
Preparing Installation Media
First, select the appropriate operating system. Popular options include Windows, macOS, and Linux. Download the OS image from the official site. Next, use a USB drive with at least 8 GB of storage as installation media. Tools like Rufus or the Windows Media Creation Tool facilitate creating a bootable USB drive. After preparing the USB, connect it to the PC and verify its recognition in BIOS. Ensuring a successful media preparation creates a foundation for the next steps in installation.
OS Installation Steps
Start by powering on the PC and entering the BIOS setup. Adjust boot priorities to prioritize the USB drive. After saving changes, the installation process will initiate. Follow the on-screen prompts to select language and preferences, then choose the type of installation: fresh or upgrade. Partitioning the hard drive occurs next, allowing customization of space allocation. Confirm settings, and the installation will access files and install the OS. Post-installation, configure additional settings like user accounts and system updates. Completing these steps finalizes the OS setup and prepares the PC for use.
Configuring Your PC
Configuring a new PC enhances functionality and optimizes performance. Focus shifts to two critical components: driver installation and system settings.
Driver Installation
Installing drivers is essential for ensuring hardware functionality. Start by identifying the required drivers for each component, including the GPU, motherboard, and peripherals. Visit manufacturer websites to download the latest versions. Utilize automatic tools provided by the operating system or third-party applications to streamline this process. Install each driver systematically, restarting the system when prompted. Regularly checking for updates keeps the system running smoothly and can improve performance with new features and bug fixes.
System Settings and Optimization
Adjusting system settings boosts performance and customizes the user experience. Access system settings through the control panel or settings application. Personalize display options, including resolution and refresh rate, to suit visual preferences. Enable high-performance power settings to maximize efficiency during intensive tasks like gaming or video editing. Configure startup programs to minimize load times and enhance system speed. Regularly deleting unnecessary files and performing system maintenance improves overall performance. Calendar reminders for software updates ensure a consistently optimized system.
Conclusion
Setting up a new PC can be a rewarding experience filled with opportunities for personalization and performance enhancement. By carefully selecting components and following a structured assembly process, anyone can create a machine that meets their specific needs.
Post-assembly configuration is equally important as it ensures the system runs smoothly and efficiently. Regular maintenance not only keeps the PC in top shape but also prolongs its lifespan. Embracing this journey with confidence transforms the initial excitement and nervousness into satisfaction and pride in a job well done.